
4. Credits
Credits are units of value stored in your account which can be used to pay for tests on both the desktop and online versions of Pedantis.
4.1. Keeping track of your credits
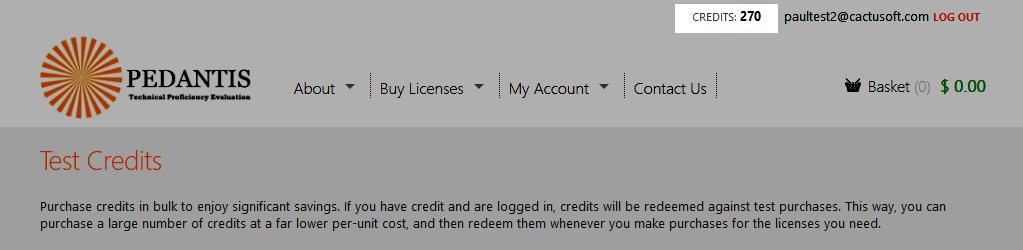
The number of credits you have available on the system is stored with your user account, and is displayed at the top of the page when you are logged into the Pedantis web site.
4.2. Benefits of purchasing credits
4.2.1. Quantity discounts

We provide significant discounts if you purchase large number of tests in a single order.
However, you may not want to purchase large numbers of licenses in one go if you are unsure exactly how many licenses you should allocate to each computer.
Purchasing credits lets you lock in the discounts by making a bulk purchase, but only use the credits you need to purchase licenses for specific computers when you need them. This allows you more flexibility to get the licenses where you need them, so you won't end up running out on some computers while you still have many left on others.
4.2.2. Versatility
In addition to letting you decide as you go which computers to allocate licenses to, there is another benefit in purchase credits rather than licenses directly. Credits can be used to purchase both licenses for tests on the desktop software, as well as for taking online tests at testing.pedantis.com.
4.3. Using credits
4.3.1. Purchasing tests for the desktop version
If you have credits available on your account, you don't need to perform any special actions to use them. When you login to your account and prepare an order (see @4.3.1. Purchasing tests for the desktop version), the system will automatically use up credits on your account if available, before asking for you to pay for tests with a credit card.
Therefore, if you have sufficient credits on your account, the basket total in dollars will show as $0.00 and you will be able to complete the order without making any further payment.
If you don't have any credits, then you will be able to pay with Paypal / credit card for your order.
If you have some credits in your account, but not enough to purchase all the licenses in your order, the credits you do have will be used first, and any remaining licenses will be charged at the prevailing rate.
4.3.2. Using credits on the online version
See @3.2. Running tests